Build guide · 646001

XL Minifig Display.

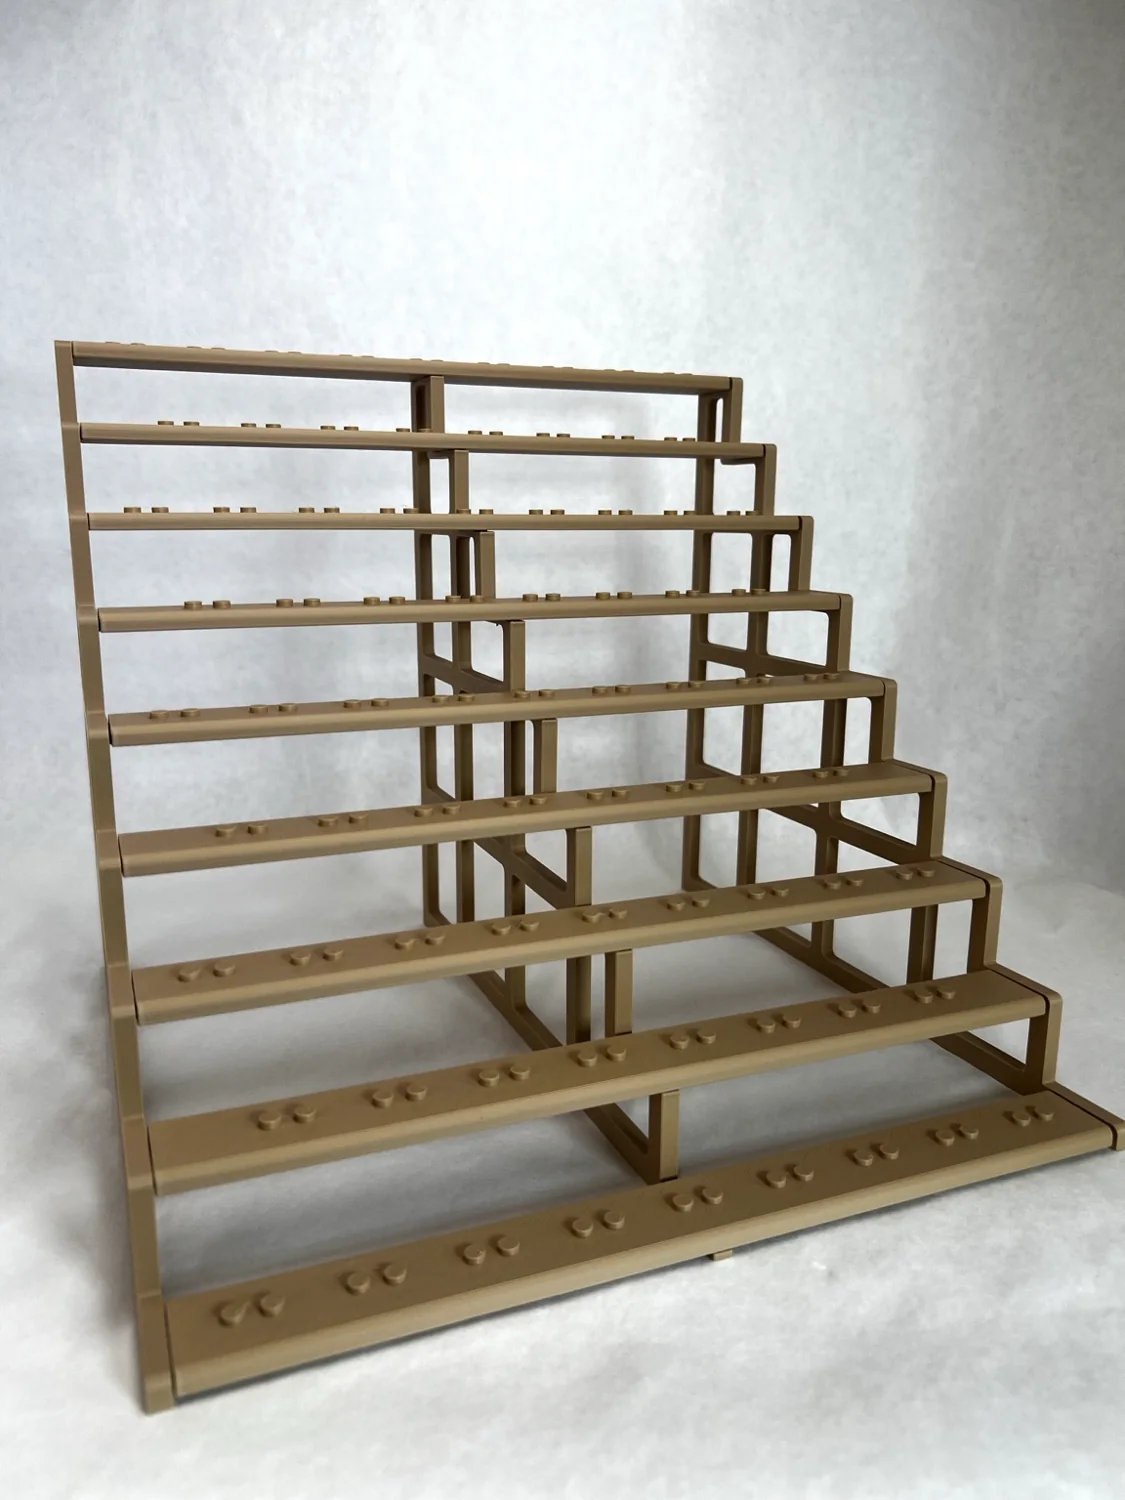
77 minifig positions across nine staggered tiers. Follow the order below to assemble your display without stressing the printed connections.

Download printable guide
Assembled XL display with minifigures arranged on its staggered tiers
01 / Check your parts

12 pieces in the kit.

Find 5 A rails, 4 B rails, 1 Left Support, 1 Right Support, and 1 Center Support. The A and B rails have different figure mounting positions; alternating them offsets each row so figures remain visible.

A – B – A – B – A – B – A – B – A
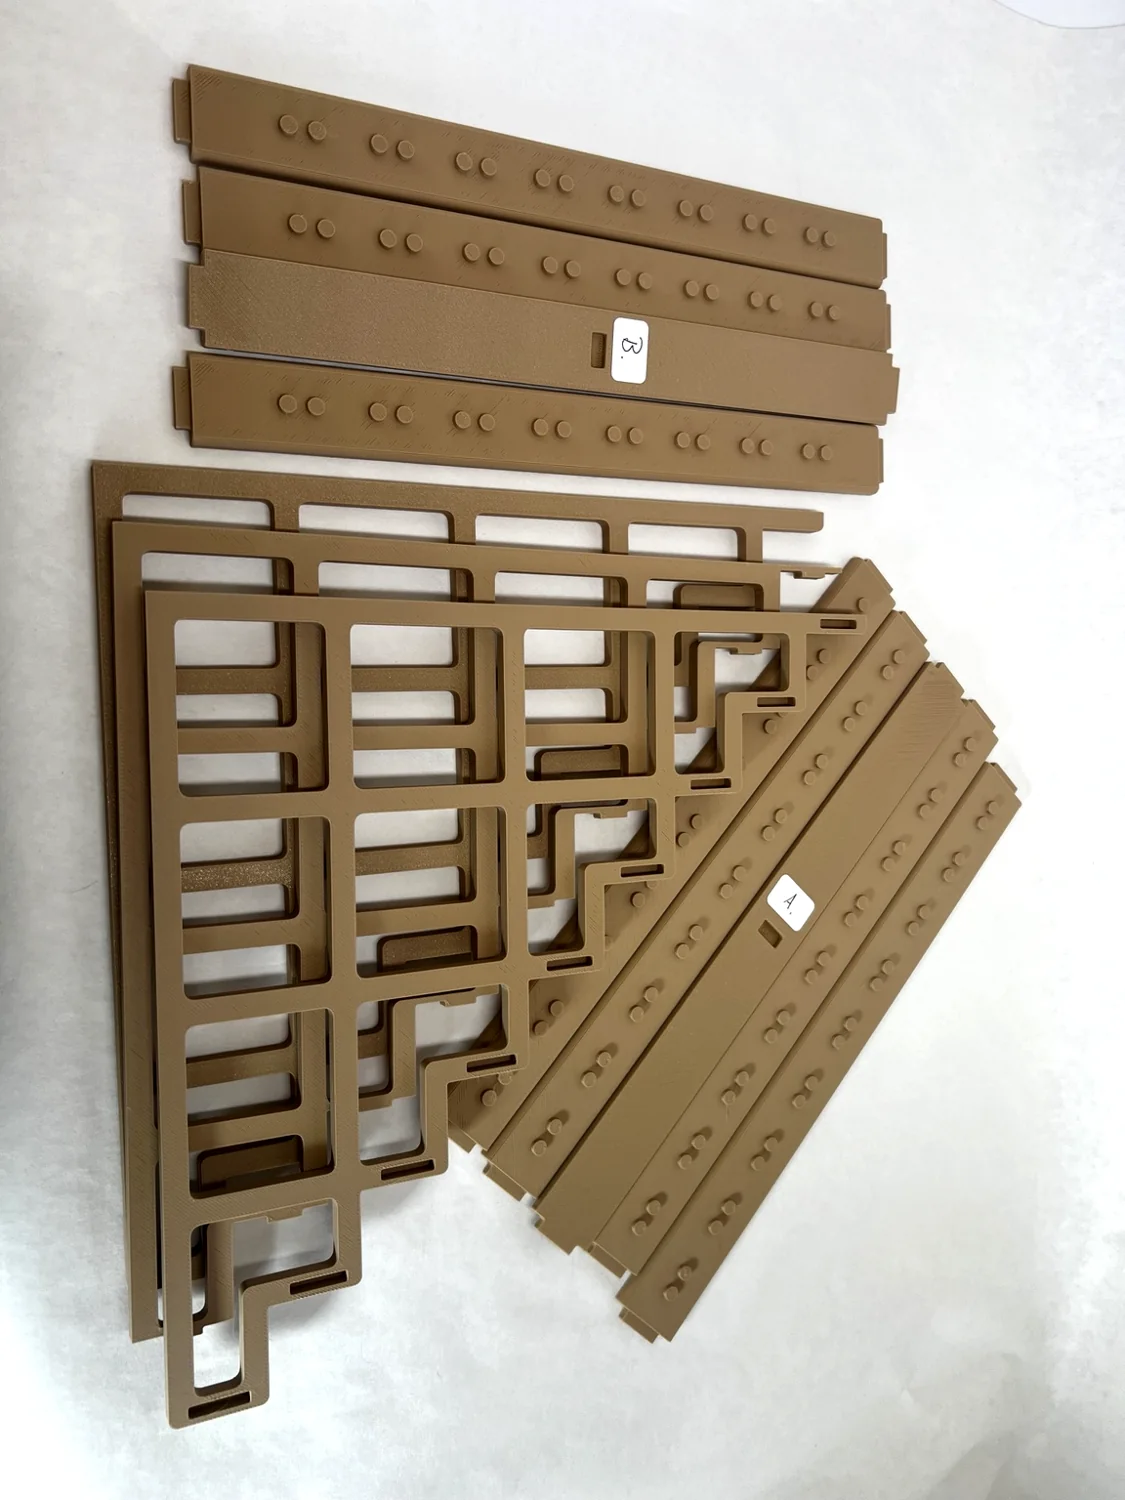
Unassembled rails and supports laid out for the XL Minifig Display
02 / First end

Seat all nine rails in one support.

Lay either end support flat. Snap in the rails one at a time in the A–B sequence above. Fully seat every rail in this first support before adding the opposite end.

Assembled stepped display showing the rails and end supports
03 / Opposite end

Connect one rail at a time.

Position the second end support over the loose rail ends. Align and snap in one rail, then move to the next until all nine are locked in. Do not force all nine rails into the support at once.

04 / Center brace

Add the center support last.

Turn the display so the nine rectangular center openings are accessible. Align the center support and snap its connection to each rail one at a time.

05 / Final check

Make sure it sits square.

Set the display upright on a flat surface. Check that all 27 rail-to-support connections are fully seated across the Left, Right, and Center Supports. The display should sit stable without rocking before you add figures.

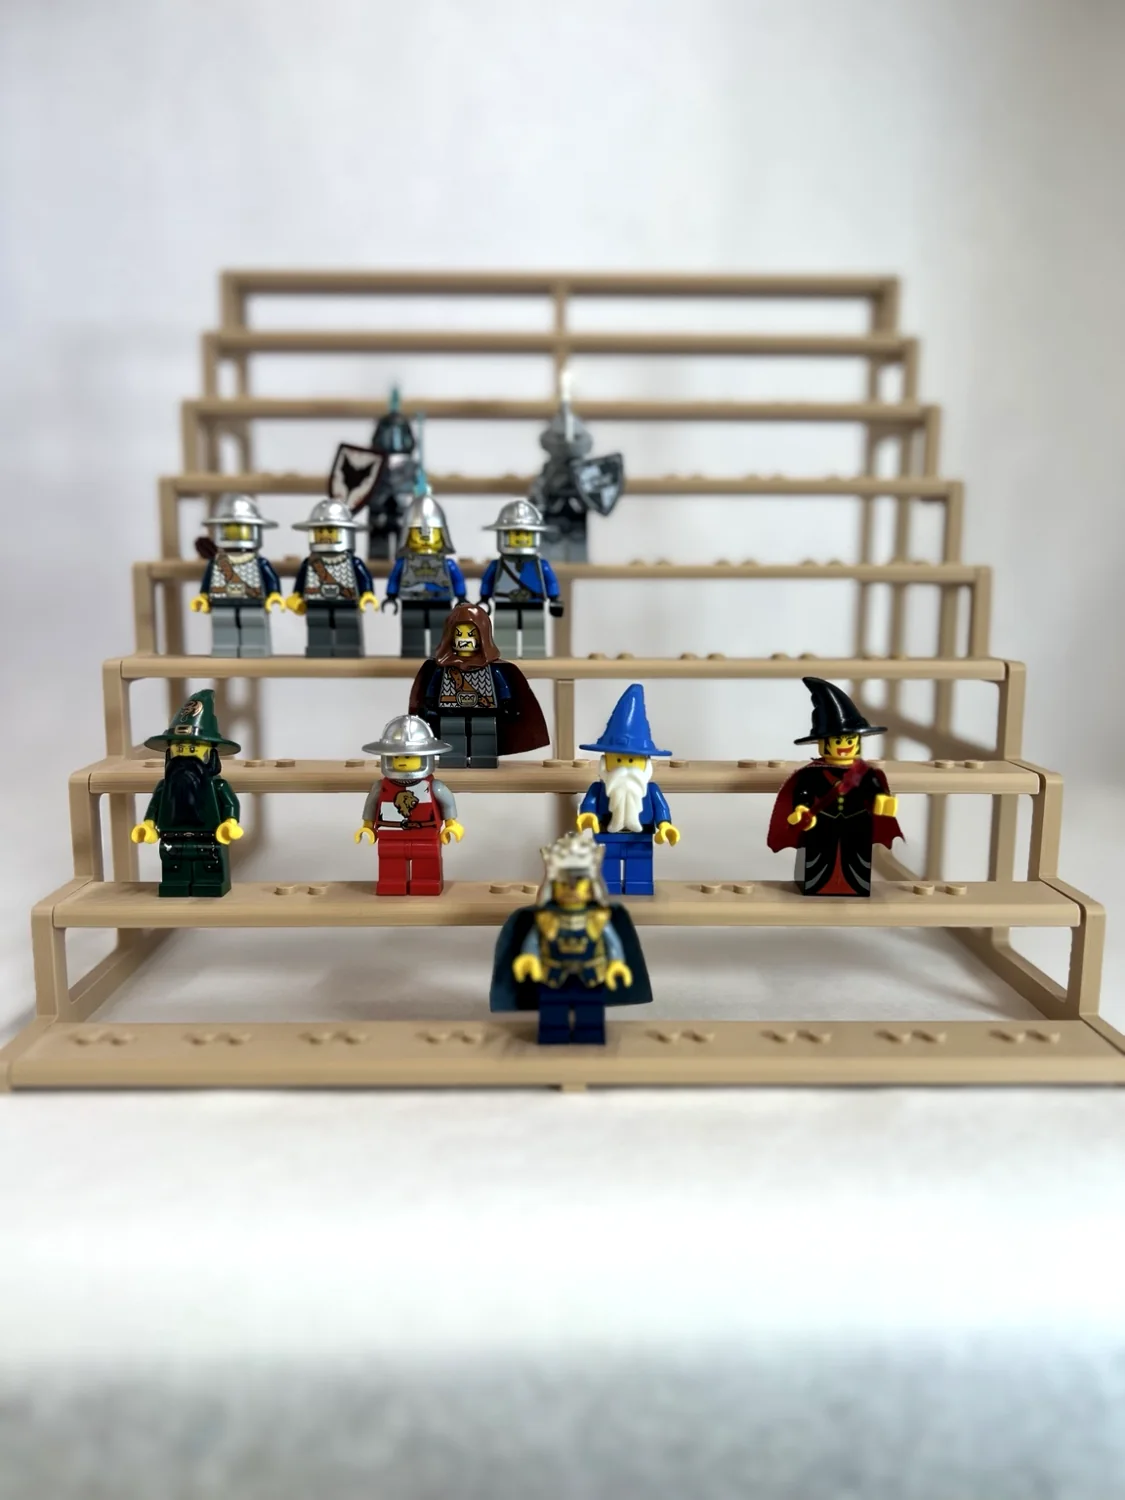
Completed XL display with minifigures

Build complete

Add your collection and make it yours.

77 minifig positions | 9 staggered tiers

Explore Brick & Fig Workshop